How to use a USB drive as a bootable device
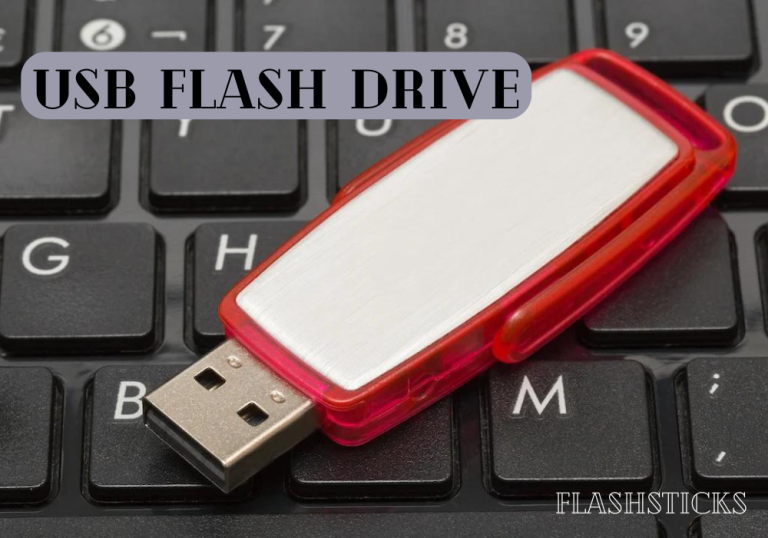
`Creating a bootable USB drive can prove to be an invaluable tool for various purposes, including installing operating systems, troubleshooting issues, and performing system recovery. In this comprehensive guide, we’ll take you through the steps required to use a USB drive as a bootable device and transform your USB stick into a multi-purpose tool. This guide covers the necessary preparation, step-by-step instructions, and practical tips to ensure a smooth process.
Preparation: What You Will Need
- An empty USB drive (at least 8GB of storage capacity)
- The ISO file of the operating system or tool you want to boot from
- A computer with a USB port
- Software to create the bootable USB (Rufus, UNetbootin, Universal USB Installer, etc.)
Step-by-Step Instructions to Create a Bootable USB Drive
Step 1: Download Required Software
First, you need to download the software that will help you create the bootable USB drive. Rufus is a popular choice due to its user-friendly interface and powerful features. You can download Rufus from its official website.
Step 2: Insert the USB Drive
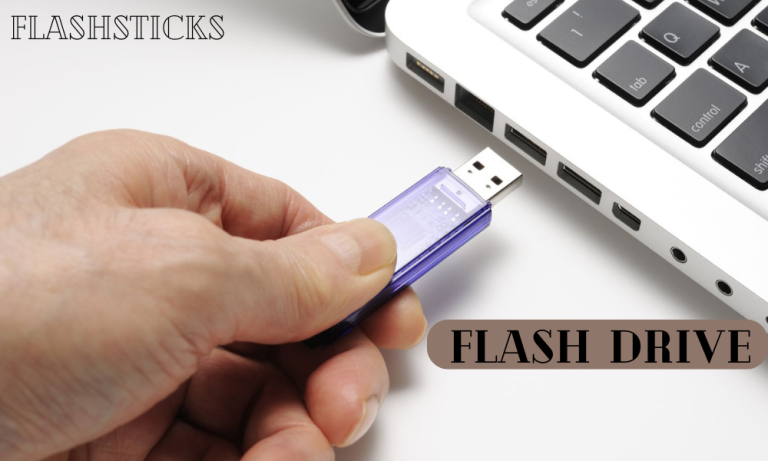
Insert the USB drive you want to use into an available USB port on your computer. Ensure there are no important files on the drive, as the process will erase its contents.
Step 3: Open Rufus and Select Device
Open Rufus after downloading. The software should automatically detect your USB drive. If not, select it manually from the “Device” dropdown menu.
Step 4: Select Bootable Disk Image
Click on the “Select” button next to the “Boot selection” option and browse to the location of your ISO file. Select the ISO file to create a bootable USB drive.
Step 5: Configure Partition Scheme and File System
Choose the partition scheme (MBR or GPT) and the target system type (BIOS or UEFI). Generally, it’s safe to select the default options, but ensure they match your system requirements:
| Partition Scheme | Target System |
|---|---|
| MBR | BIOS (or UEFI-CSM) |
| GPT | UEFI (non-CSM) |
Step 6: Start the Process
Once all settings are configured, click on “Start.” Rufus will warn you that all data on the USB drive will be destroyed. Confirm to proceed. The process may take a few minutes to complete.
Step 7: Make BIOS/UEFI Settings
- Restart your computer and enter the BIOS or UEFI settings by pressing a specific key during the boot process (e.g., F2, DEL, ESC, etc.).
- Navigate to the boot order settings and set your USB drive as the first boot device.
- Save the changes and exit the BIOS/UEFI.
Benefits of Using a USB Drive as a Bootable Device
- Portability: Easily carry your operating system or tools wherever you go.
- Convenience: Quick and easy installation or troubleshooting without needing optical drives.
- Flexibility: Use the same USB drive for multiple purposes by updating the bootable image.
- Cost-Effective: USB drives are inexpensive and widely available.
Practical Tips and Troubleshooting
Secure Your Data
Always back up any data on the USB drive before starting the process. This ensures you don’t lose important files.
Verify the ISO File
Ensure you download the ISO file from a trusted source to avoid corrupt files or malware.
Troubleshooting Boot Issues
- Boot Order: Ensure the USB drive is set as the first device in the boot order.
- Disable Secure Boot: In some UEFI systems, you may need to disable Secure Boot to boot from the USB drive.
- Check Compatibility: Ensure the operating system or tool is compatible with your computer’s architecture (32-bit or 64-bit).
Conclusion
Creating a bootable USB drive is a straightforward process that offers many benefits, from installing operating systems to performing critical troubleshooting and recovery tasks. By following the steps outlined in this guide, you can easily create a bootable USB drive and harness its full potential. Whether you are a seasoned tech enthusiast or a beginner, this guide covers everything you need to know to make the process as smooth as possible.
Remember to always download ISO files from trusted sources and to double-check your settings to ensure a successful boot. Happy booting!
“`


